RNA extraction protocols often look simple on paper: lyse, bind, wash, and elute. At the bench, however, one wrong discard step is enough to lose an entire sample. This guide turns the current biotechrabbit GenUP™ Total RNA Kit manual into a compact working protocol, with extra emphasis on what to keep, what to discard, and where RNA is located at each stage.
The kit physically removes genomic DNA with a dedicated DNA filter before RNA is bound to a second membrane. No DNase treatment is required for the standard workflow, although RNase-free DNase can still be added when an application demands especially low genomic DNA carryover.
Version note: This article follows product manual PIN-BR07009-003, valid from October 31, 2025. Always compare a working protocol with the latest manufacturer documentation before using a new kit lot.
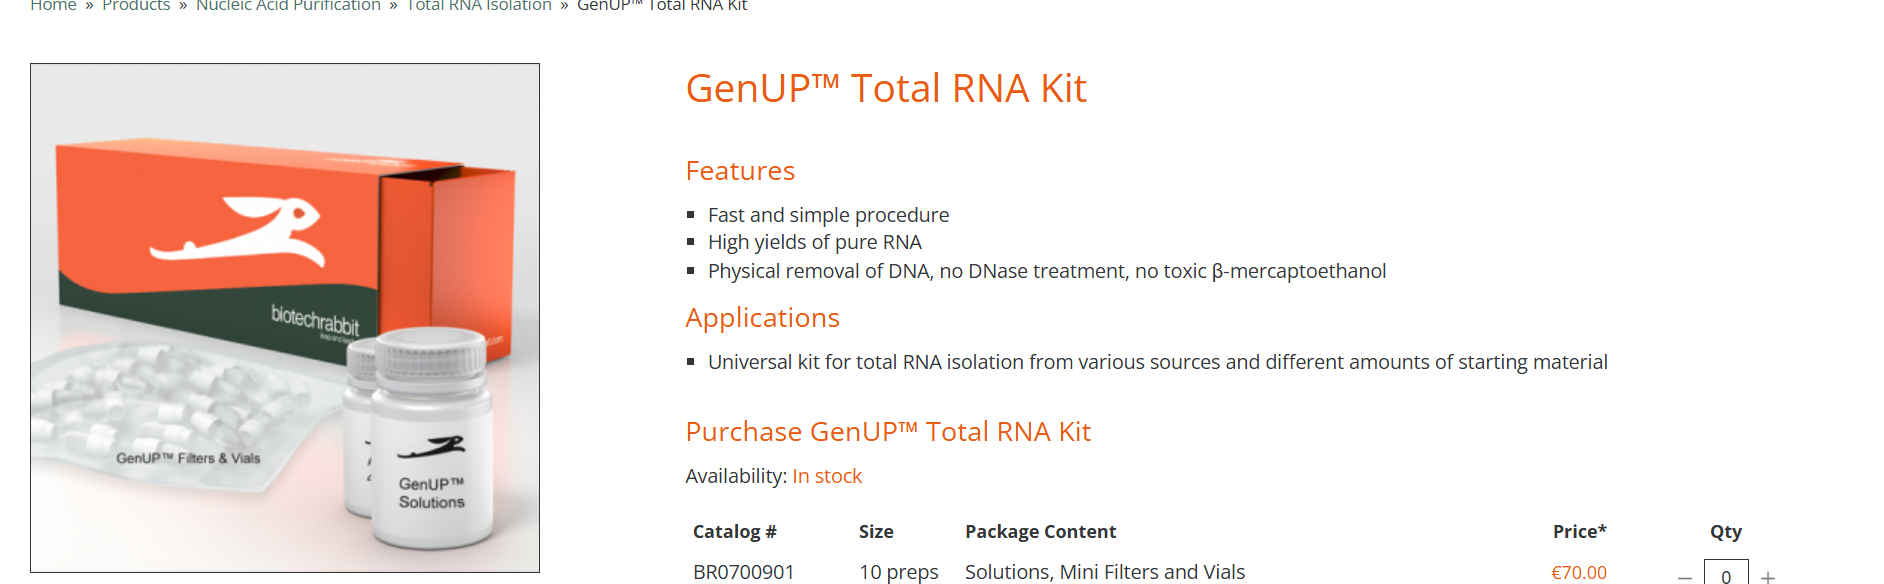
GenUP™ Total RNA Kit product overview from biotechrabbit.
At a Glance
| Parameter | Specification |
|---|---|
| Suitable starting material | Tissue, eukaryotic cells, Gram-positive or Gram-negative bacteria |
| Maximum input | 20 mg tissue; 5 × 10^6 eukaryotic cells; 1 × 10^9 bacterial cells |
| RNA-binding capacity | 100 µg |
| Typical extraction time | Approximately 20–40 min |
| Main workflow | Lyse → remove DNA → add ethanol → bind RNA → wash → dry spin → elute |
The One Rule That Prevents a Lost Sample
The kit uses two visually coded filters, and the location of the RNA changes between them.
| Stage | Keep | Discard |
|---|---|---|
| After the blue DNA filter | Filtrate — it contains the RNA | Blue filter with bound DNA |
| After binding to the violet RNA filter | Violet filter — RNA is on the membrane | Flow-through and used Collection Tube |
| After elution | Eluate in the Elution Tube | Violet filter |
Critical: After centrifuging the blue filter, do not discard the filtrate. At this point, the RNA is still in the liquid.
Before You Start
Work as cleanly and quickly as possible. Wear gloves, change them frequently, use RNase-free consumables, and keep samples and purified RNA on ice whenever practical. Perform all centrifugation steps at room temperature.
You will need molecular-biology-grade, non-denatured 70% ethanol for RNA binding and 96–99.8% ethanol for preparing the wash buffers.
Prepare WASH A and WASH B
Add ethanol to the concentrate before the first use, mix thoroughly, and mark the bottle.
| Kit | WASH A concentrate | Ethanol to add | WASH B concentrate | Ethanol to add |
|---|---|---|---|---|
| BR0700901, 10 preps | 5 ml | 5 ml | 6 ml | 24 ml |
| BR0700902, 50 preps | 15 ml | 15 ml | 16 ml | 64 ml |
| BR0700903, 250 preps | 70 ml | 70 ml | 36 ml | 144 ml |
Bring the buffers to room temperature before use. If a precipitate is visible, warm the solution gently until it has dissolved.
Tissue Workflow
This is the workflow I would use for a plant leaf sample such as Echinochloa. Process no more than 20 mg of fresh or frozen tissue per preparation.
1. Homogenize and lyse
For a rotor-stator homogenizer, add 450 µl Buffer LYSIS LR directly to the tissue, homogenize thoroughly, and transfer the lysate to a 1.5 ml tube.
For liquid-nitrogen grinding, reduce the tissue to a fine powder, transfer it without allowing it to thaw, add 450 µl Buffer LYSIS LR, and incubate with continuous shaking until the lysate is clear.
Incomplete homogenization is one of the most common causes of clogged filters and poor yield.
2. Remove debris
Centrifuge at maximum speed for 1 min. Carefully transfer the supernatant without disturbing the pellet.
3. Remove genomic DNA
- Transfer the supernatant to a Mini-Filter DNA with a blue ring, placed in a Collection Tube.
- Centrifuge at 10,000 × g (approximately 12,000 rpm) for 2 min.
- Discard the blue filter with bound DNA and keep the filtrate.
If the sample has not passed completely through the filter, repeat the spin or extend the centrifugation time.
4. Establish RNA-binding conditions
Add an equal volume of 70% ethanol to the filtrate. In the standard tissue workflow, this is 400 µl. Mix by pipetting up and down.
5. Bind RNA
- Transfer the mixture to a Mini-Filter RNA with a violet ring, placed in a new Collection Tube.
- Centrifuge at 10,000 × g (approximately 12,000 rpm) for 2 min.
- Discard the flow-through and Collection Tube. Keep the violet filter.
If liquid remains above the membrane, repeat or extend the centrifugation.
6. Wash the membrane
Move the violet filter to a new Collection Tube, add 500 µl Buffer WASH A, and centrifuge at 10,000 × g for 1 min. Discard the flow-through and tube.
Move the filter to another new Collection Tube, add 700 µl Buffer WASH B, and centrifuge at 10,000 × g for 1 min. Discard the flow-through and tube.
7. Remove residual ethanol
Place the violet filter in a new Collection Tube and centrifuge at maximum speed for 2 min. This dry spin matters: ethanol carryover can inhibit downstream reverse transcription and PCR.
8. Elute the RNA
- Place the violet filter in a 1.5 ml Elution Tube.
- Apply 30–80 µl RNase-free Water for ELUTION to the center of the membrane.
- Incubate at room temperature for 1 min.
- Centrifuge at 6,000 × g (approximately 8,000 rpm) for 1 min.
- Discard the filter. The eluate contains the purified total RNA.
For higher total recovery, perform two sequential elutions using half of the desired final volume each time. Use at least 20 µl per elution. Extending the incubation before elution to 5 min may also help when yield is low.
Alternative Starting Materials
The binding, washing, and elution steps remain unchanged. Only the initial sample preparation differs.
Eukaryotic cells
Pellet up to 5 × 10^6 cells and remove the supernatant completely. Resuspend the pellet in 400 µl Buffer LYSIS LR, incubate for 2 min at room temperature, pipette gently to complete resuspension, and incubate for another 3 min. No visible clumps should remain.
Transfer the lysate to the blue DNA filter. After the blue-filter spin, add 400 µl of 70% ethanol to the filtrate and continue with the violet RNA filter.
Bacterial cells
Pellet up to 1 × 10^9 cells at 5,000 × g (approximately 6,000 rpm) for 2–5 min and remove the supernatant completely. Resuspend the pellet in 100 µl TE Buffer without foaming.
Add 50 mg/ml lysozyme:
- Gram-positive bacteria: 5–10 µl
- Gram-negative bacteria: 1–2 µl
Pipette carefully until the suspension becomes clear. The optimal lysozyme amount and incubation time may vary by organism. Add 450 µl Buffer LYSIS LR, mix gently, and incubate for 3 min at room temperature. The lysate should be clear or viscous, with no visible clumps.
Transfer it to the blue DNA filter. After centrifugation, add an equal volume of 70% ethanol—400 µl in the standard workflow—and continue with the violet filter.
Troubleshooting Notes
The filter clogs
Reduce the starting amount and improve homogenization or lysis. After lysis, centrifuge the sample to pellet debris and load only the supernatant.
RNA yield is low
Avoid overloading the filter. Extend the elution incubation to 5 min or perform two elutions. Remember that a smaller elution volume increases concentration but may reduce total recovery.
Genomic DNA remains
Reduce the starting amount and confirm that the recommended lysis method was used. If necessary, perform an on-column DNase digestion after RNA has bound to the violet filter, or digest the final eluate. The DNase must be RNase-free.
RNA is degraded
Use fresh or correctly stored samples, work quickly during the early steps, and clean the work area before extraction. Use sterile RNase-free filter tips and avoid repeated freeze-thaw cycles.
The RNA performs poorly in RT-PCR
Ethanol carryover is a common cause. Extend the dry spin before elution. Salt carryover can also interfere with downstream reactions; ensure WASH A and WASH B are at room temperature and free of precipitate.
Storage and Quality Records
Purified RNA can be used immediately. Store it at 4°C for short-term use or −80°C for long-term storage.
For each preparation, record the sample ID, starting mass or cell number, elution volume, RNA concentration, A260/A280, A260/A230, and any RNA-integrity measurement used by the laboratory. Those records make troubleshooting far easier than relying on memory after a failed RT-qPCR run.
Safety Note
Buffer LYSIS LR and Buffer WASH A contain guanidine isothiocyanate. Never add bleach or acidic substances to sample-preparation waste, because toxic gas may be released. Wear appropriate personal protective equipment and follow institutional waste-disposal procedures.